Here it is March already and I am just getting around to posting the remaining items from my sweater weather collection. I did have everything done by the first week of February but as a first-time blogger, I didn’t realize how long everything took to get organized.
I have been wanting to do a comfy oversized sweater for a while now, and this has always been on my list. I already knew I would get rid of the turtle neck because I am not a big fan of them because I do not like how they look on me. I do like a funnel neck which can be shorter and wider so it doesn’t shorten my neck as much.
I originally had a different fabric in mind but wasn’t sure if I wanted it for this style. It was the black cable knit that I have in my sweater weather post, however, I didn’t use it for any of the styles I chose. That will have to wait for next winter.
Instead, I grabbed a long-forgotten sweater knit sitting on my shelf that I thought I would never use. Was this a good choice? Yes and no, it wears well and I like the way it looks, but it lacks the stretch recovery like a jersey knit, which is what this pattern called for.
Modifications:
The Neckband
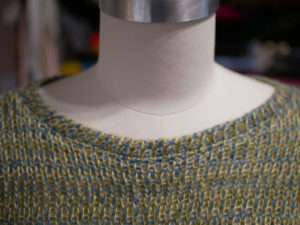
The plan from the start was to get rid of the turtle neck. I made a neckband using the length of the turtle neck pattern piece, then I made the width 2 1/2 inches wide. That is including the seam allowances, and with the neckband folded in half and sewn to the garment, it gives me a resulting neckband of 5/8 inches wide.
Leaving the neckband at the original neck pattern length will result in a neckband that will look stretched out and not lay flat. You need to shorten the length. To figure out how much you need to take off you can approach it in different ways. I choose to use my dress form, so after sewing the shoulder seams, I placed the garment on my dress form to get an idea of how much I wanted to take off the band’s length for it to pull in and lay flat against my neck.
Because the sweater knit or any other fabric type can give you different results, the amount you take off can vary. This is why when a pattern calls for a particular fabric type, it has been tested to achieve the same results so that your fabric will behave how the pattern intended it to.
I pinned the neckband around the neck edge, stretching as I went around the garment making sure the neckband was laying flat. I then joined the ends of the neckband in the back. I marked my new stitching line and sewed the neckband together with a basting stitch. I then basted the neckband to the neck edge of the garment to see if I liked the results. I actually liked my results the first time, so I then had to remove the basting stitches and resew all parts that I basted with a regular stitch.

I do know this is an extra step because you have to remove the stitching, but it is worth it than having to seam rip smaller stitches. That can take extra time, and depending on the fabric, you can create a snag or hole if you are not careful, just ask me how I know 🙂 A basting stitch is a lot easier to remove.
The picture shows my finished neckline.
The Length
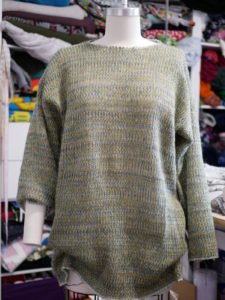
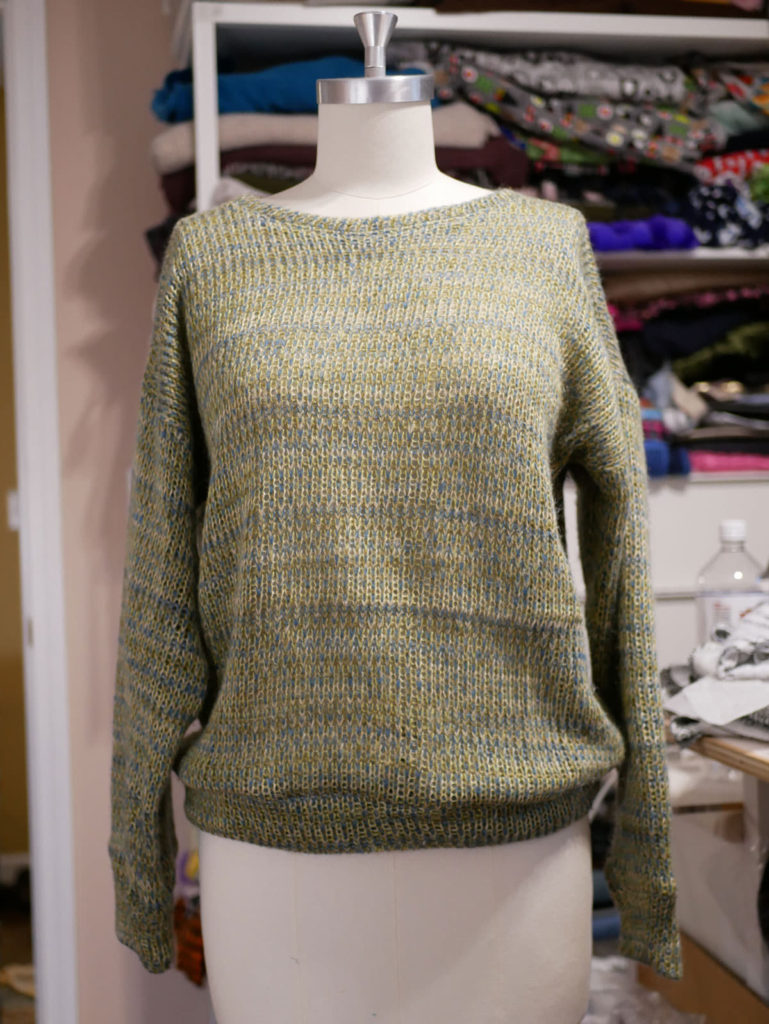
Once the neckline was finished I added the sleeves and sewed the side seams to try on the garment. The first thing I noticed was the Pullover resembled the length of a dress. I can see if I had a firmer knit with better stretch recovery it would work better at this length, but I did not, so I removed 6 inches off the bottom remembering I was adding more length with the waistband.

I then proceeded to finish by sewing the cuffs to the sleeves and the waistband to the bottom hemline. I am happy with the way it turned out but I would be careful if I used a sweater knit again, I would have to check the fiber content. If I make this pattern again I will try a knit fabric with better stretch recovery.

