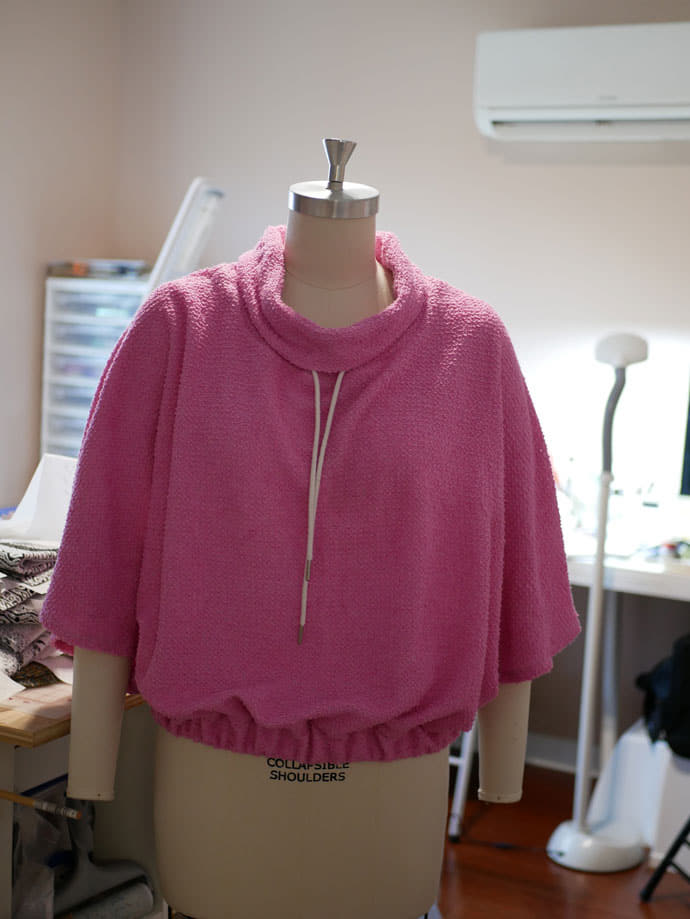
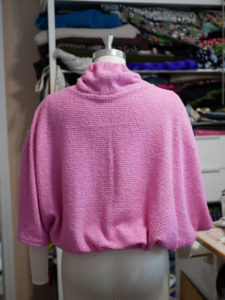
When I saw this style I thought what a great top layer this would make. At first, the only modification I was going to make would be in the length. I have a slightly longer torso, so most patterns I add additional length to them. Upon laying out the pattern I realized the fabric I wanted to use was too short in length and also too short in width. Determined to use the fabric I decided to alter the style to fit my material.
The collar and facing are connected to the front and back pieces. Since the collar went off the edges of the fabric, I decided to redo the front and back pieces. I determined I would do a separate collar piece and make the front piece center line the grain line.
For the front piece, the center front was lined up from the bottom to create a straight line to the neck edge. I went straight up and slightly into the funnel neck. This way I could lay the front piece on the fold line.
Next, I figured where the start of the outer neck edge should be. I accomplished this by pinning it to the dress form. I wanted to provide pictures and steps here but I realized I altered my modifications of the neckline after photographing the first round, so they were no longer valid. Then I figured how far down I wanted it to go in the center front then connected my shoulder and neck front with a french curve.
Last, I lined up the front and back pieces and transfer the start of the neck edge on the shoulder seam to the back piece’s should seam. Remember you want the shoulder/sleeve to be the same length.
The back neck does not go as far down as the front. I didn’t get the picture for any of this and I apologize. This is a learning process for me as I hope to get more proficient as time goes on.
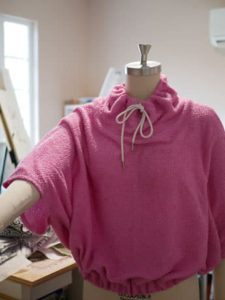
For the new collar, I created a pattern piece that was equal to the length of the front neck edge going from shoulder to center front line. I marked a notch for the should seam then added the length of the back neck edge, from shoulder to the center back. The collar is not smaller than the opening as I do not need it to lay flat against my neck. I want a collar that rolls down or as you see in the photos when I pull the drawstring have a gathered affect.
Tip:
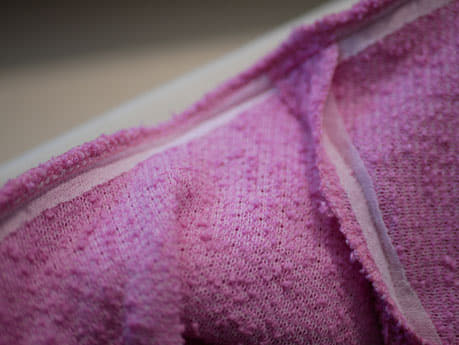
The majority of pattern instructions will tell you to iron on stay tape to the shoulder seams of knit garments. Here because the knit was a very loose weave I used stay tape on the full length of the should seam and around the neckline. The neckline on my garment is wide enough to not have to stretch it over my head and I did not want it to be stretched out. It worked out very well for this design.

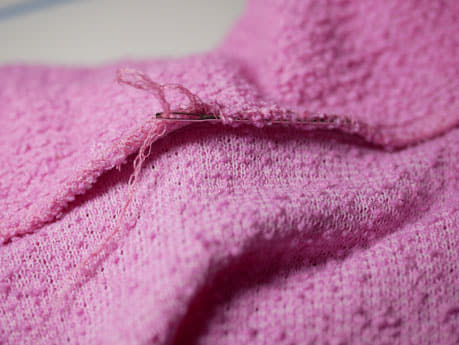
Another thing that I do, that a lot of you might do already, is taking the tail end of my serging thread and rethread it thru the stitching to secure it. You can also zigzag stitch over the area to secure your threads.
The needle used is a large yarn needle that has a rounded tip that does not puncture the fabric. It also has a large eye for easy threading multiple threads.
Views:
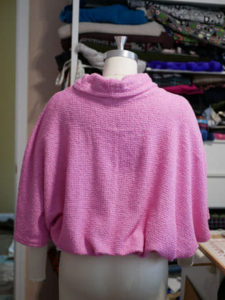
A look from different angles and with the collar up.

